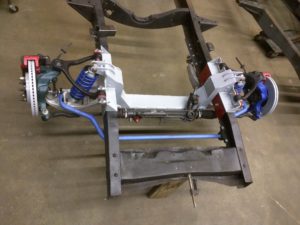
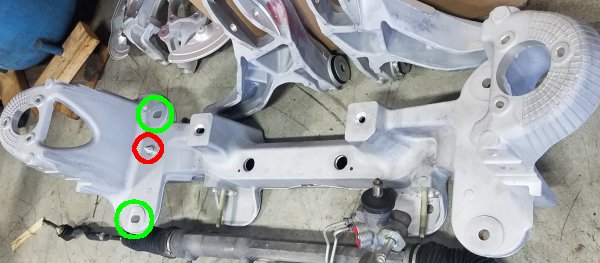
Here’s a simple idea for installing a crown vic front suspension in a classic pickup truck. Team321 created these stickers to indicate the locations of the mounting holes to make installation a breeze.
Installing a crown vic crossmember into your classic truck – or any other vehicle – requires drilling holes for the mounting hardware. For $25 / pair (includes shipping), you get the peace of mind of knowing you are placing these holes in the correct location.
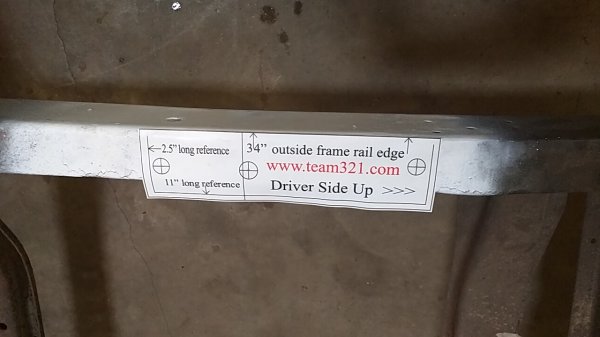
Most of the classic pickup trucks feature frame rails measuring 34 inches outside / outside. With this in mind, Team321 developed these simple stickers to indicate where to place the mounting holes.
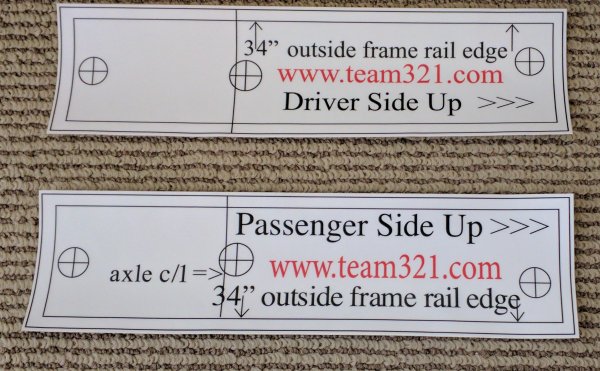
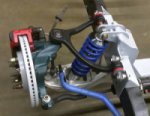
The crown vic crossmember has two mounting holes per side – (indicated with green circles) with crush tubes that pass through the Ford truck frame’s C-channel from top to bottom. The crossmember also has one alignment pin per side – (indicated with a red circle).
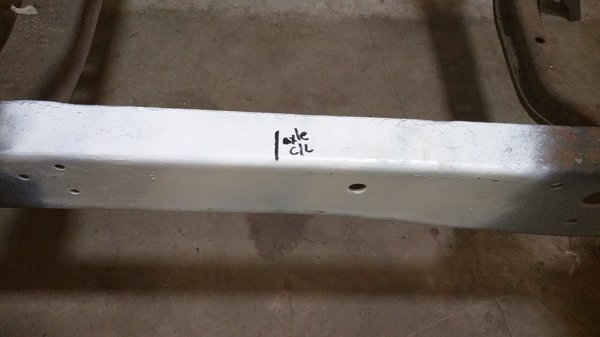
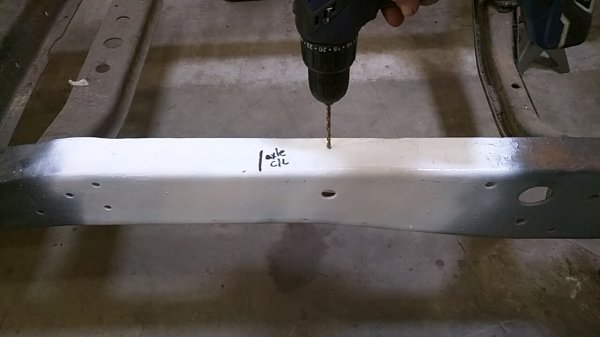
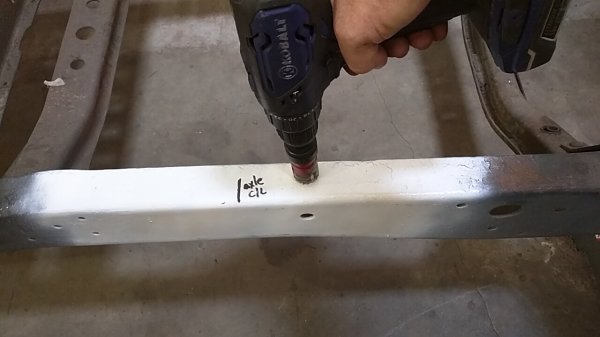
 Here are the steps to using the stickers to drill the mounting holes… Mark the axle centerline
Place the sticker on the frame rail – aligning the axle centerline mark and the outside frame rail line
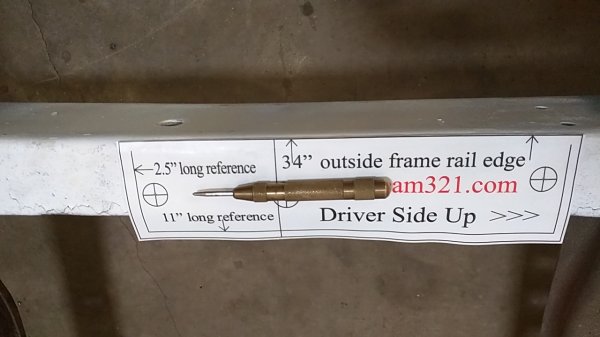
Using a center punch, mark the frame rails for the crush tube holes
Using a 1/4 inch drill bit, drill a pilot hole
Using a hole saw, drill the holes for the crush tubes
Repeat the procedure for the lower frame rail.