
Team321 Narrow Crown Vic Dodge D200 Installation
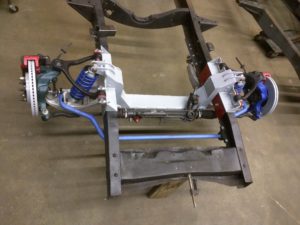
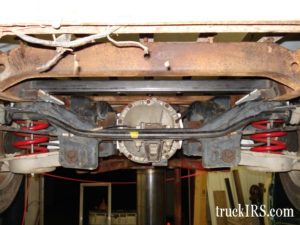
Team321 has been selling a Narrow Crown Vic Steel weld-in Crossmember for Ford Trucks as well as Chevy Trucks and a wide variety of custom applications. This install requires a small clearance cut on top of the Dodge frame rail
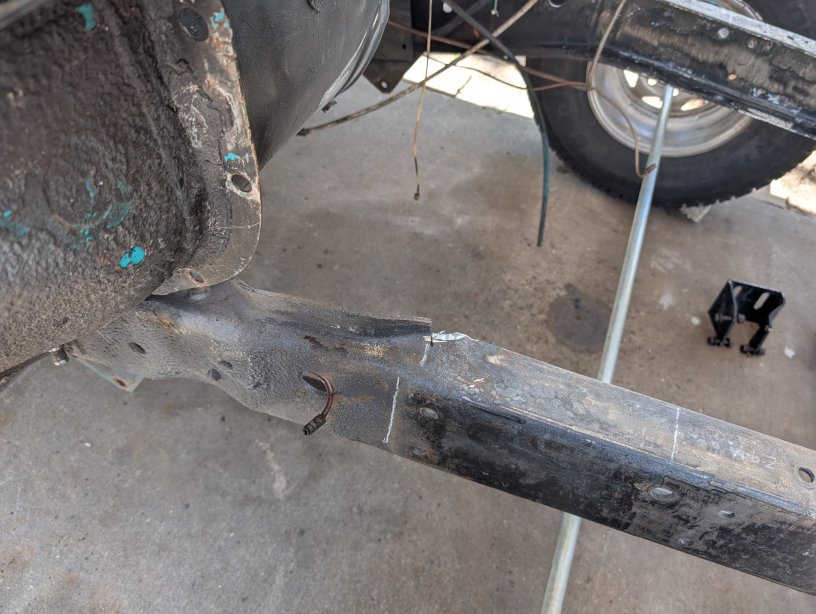
The image below shows the chalk marking the location for a triangle cut – easily done with a 4 1/2 inch cutting wheel
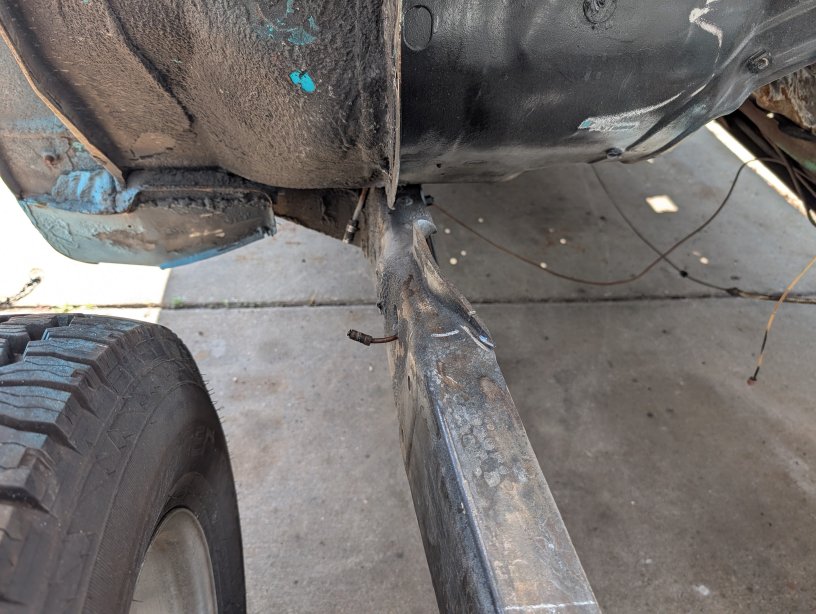
The image below shows the Passenger Side of the resulting cut… again, very minor mod to the frame rail. This is to be done for both the Driver and Passenger side.
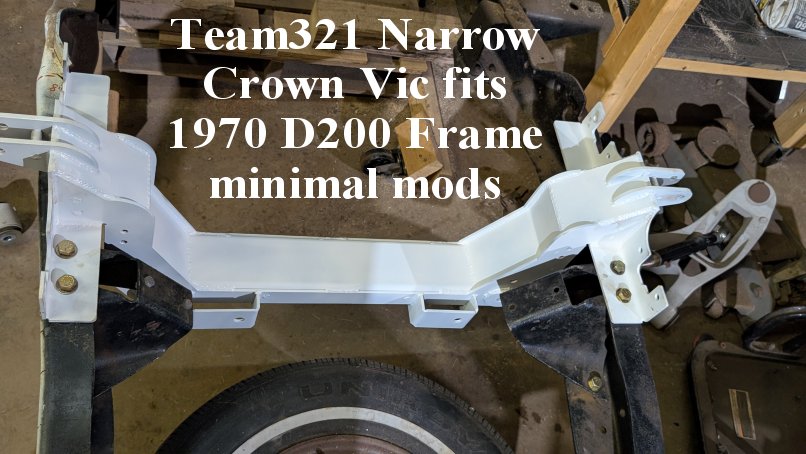
The images that follow are a sequence of making holes in the crossmember to properly locate the front axle centerline in the center of the wheelwell… AND utilize the factory motor mounts. For the impatient, here is the resulting install… you will NOT have to drill these hole – the subframe will come pre-drilled and elminate any guesswork as to where to locate the Team321 crossmember
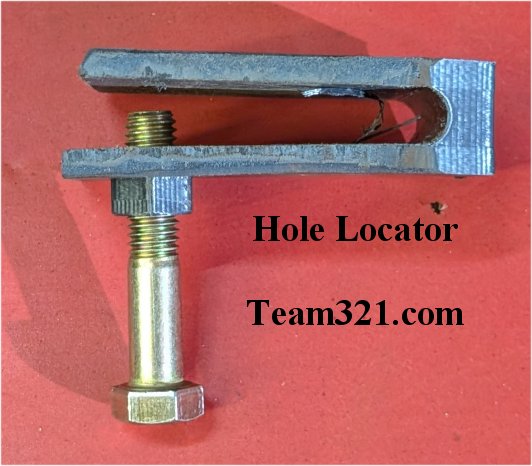
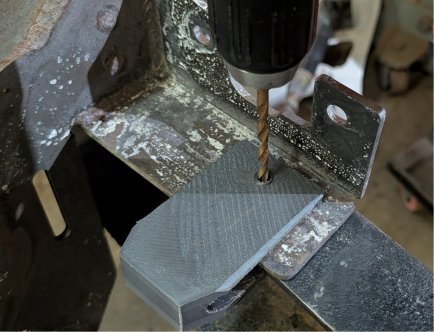
In order to create the holes in the crossmember that align with the existing motor mount holes, I designed a pilot hole drill jig and 3D printed it… the bottom of the jig has a 1/2″ threaded nut integrated into the tool and a 1/4 inch pilot hole on the top of the jig – aligned with the 1/2″ bolt hole.
here is a pic of the tool I made
This was necessary since the hole in the top of the frame rail needed to be drilled from above.
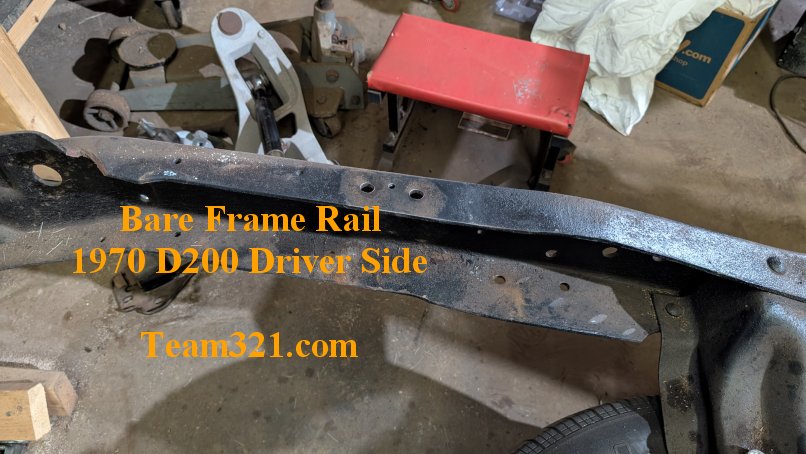
Here is a pic of the Driver Side Bare frame rail. Notice the two motor mount holes on the top of the frame rail. There is a matching pair of holes on the Passenger side.
Next step is to position the Team321 Crossmember on top of the frame rail – this location positions the axle centerline in the center of the truck’s front wheel wells… After working with a local customer, we determine the proper location and I translated that positioning info to this development frame. I threaded the 1/2 inch bolt through the bottom hole which clamped the top of the frame rail to the Team321 crossmember… next step is to drill a 1/4″ pilot hole in the top of the Team321 crossmember… this was repeated – 2 total holes each for Driver and Passenger sides.
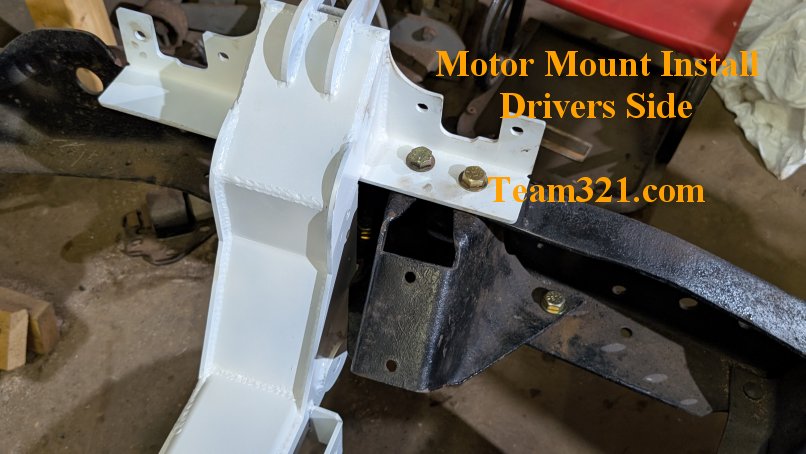
Here is a pic of the Driver Side with the Team321 crossmember positioned and the Motor mounts installed
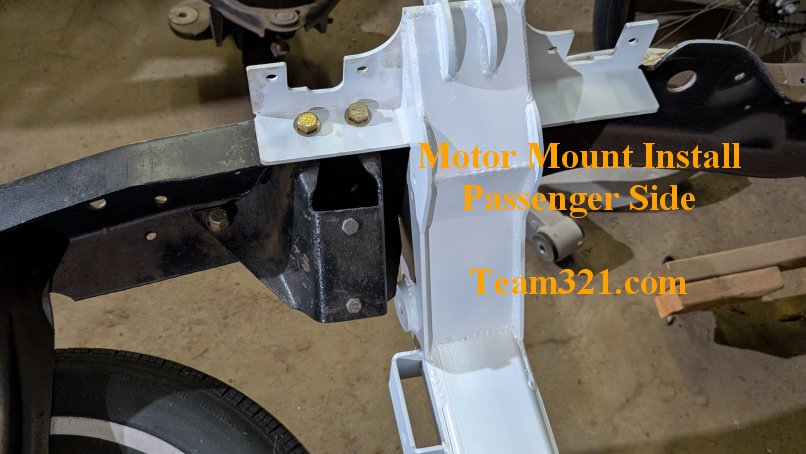
and a couple more holes – Here is a pic of the Passenger Side with the Team321 crossmember positioned and the Motor mounts installed
and finally the full view of the Team321 crossmember installed… All that’s left is to prep the frame : crossmember interface and weld the crossmember to the frame – then you can start bolting on the suspension components. email dave@team321.com for more info.