The following photos show the Installation Sequence for a Team321 Narrow Crown Vic front suspension crossmember into a 1953-56 F1
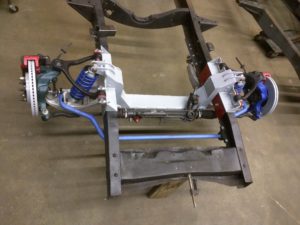
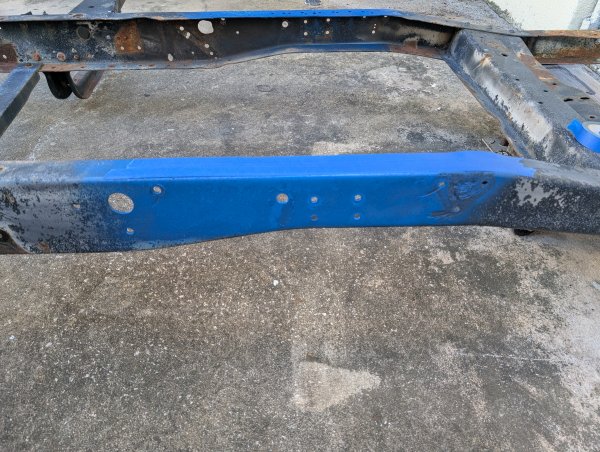
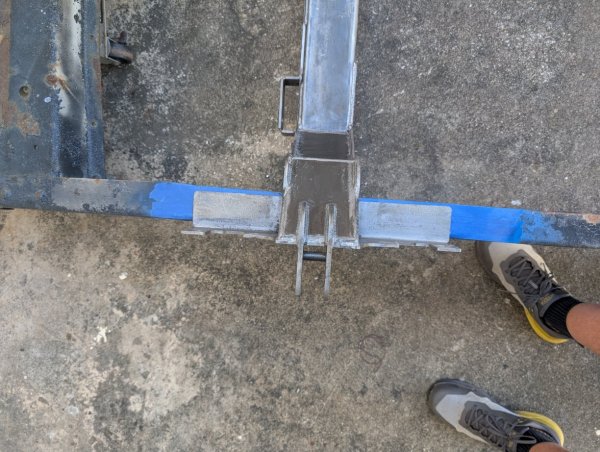
I painted the outside of the frame rails blue to contrast the two crossmembers used. The first one is White – and is the Original Team321 Narrow Crown Vic crossmember design. The second crossmember is ospho coated steel (no paint) that I designed and also manufacture for Big Block and Coyote Installs. The inside / inside measurement of the crossmember is 1.5 inches wider – allowing a little more clearance for headers.
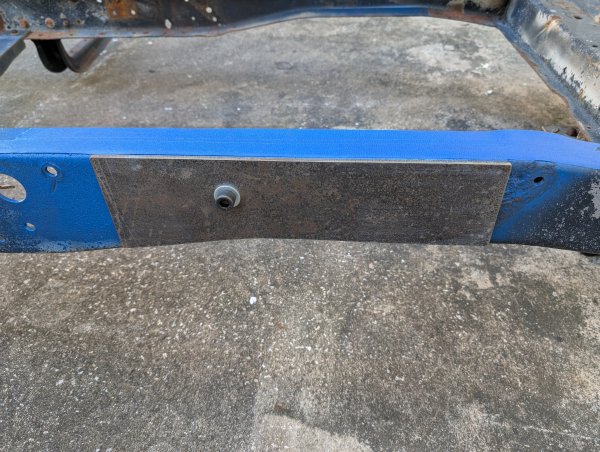
The first image shows the bare crossmember
The first step is to locate the included boxing plates on the OUTSIDE of the frame rail… Ultimately the boxing plates will be welded on the inside of the frame rail, but for now, use 1/2 inch hardware to secure the plate.
With the Boxing plate in place, mark the top of the frame rail at the leading edge and trailing edge of the boxing plate… do this on both Driver and Passenger side.

Locate the crossmember so it lines up with the two lines on each side. Notice the crossmember is 0.7 inches inboard of the outer frame rail edge. Make sure the crossmember is centered with the same amount of space on both Driver and Passenger side… Tack weld the crossmember in place and if you would like to check wheel centering in the middle of the fenders, hang at least one side of the suspension on before final welding.
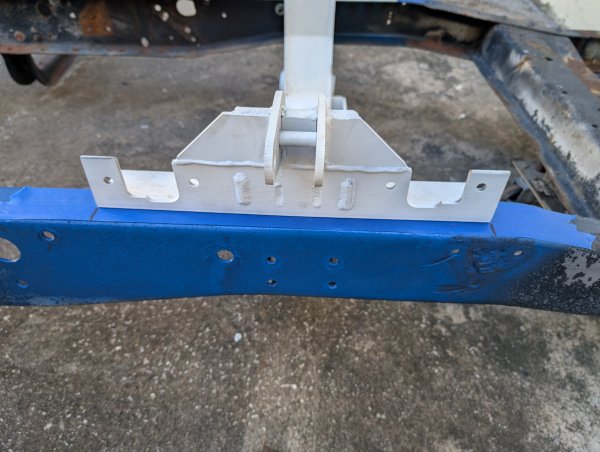
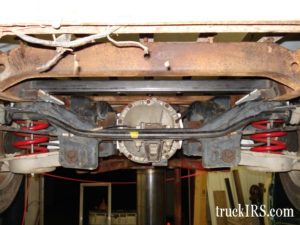
The next crossmember is the wider one… To be sure, the geometry is the same for both… the track width is the same for both. The difference is the way the Upper control arms are mounted on the crossmember.
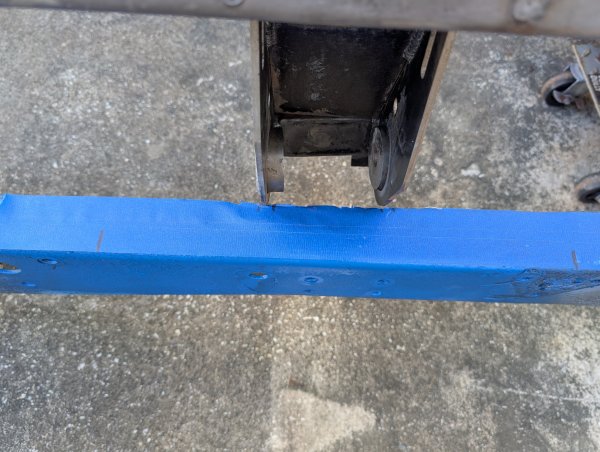
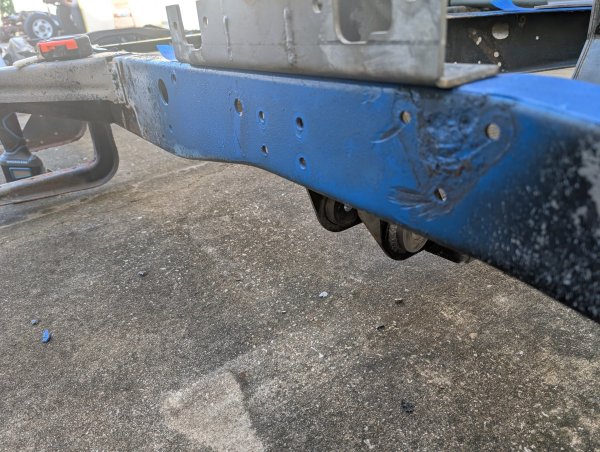
Notice when placing the wider style crossmember on top of the frame rail, there is about 7/16″ of interference where the lower control arms mount… the frame needs to have a couple of chunks cut out to clear the crossmember vertical plates.
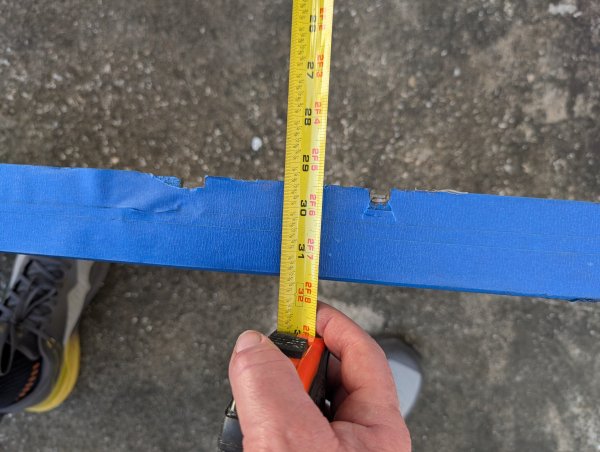
Notice the inside / inside of the frame rail is 29 7/16 inches from Left to Right
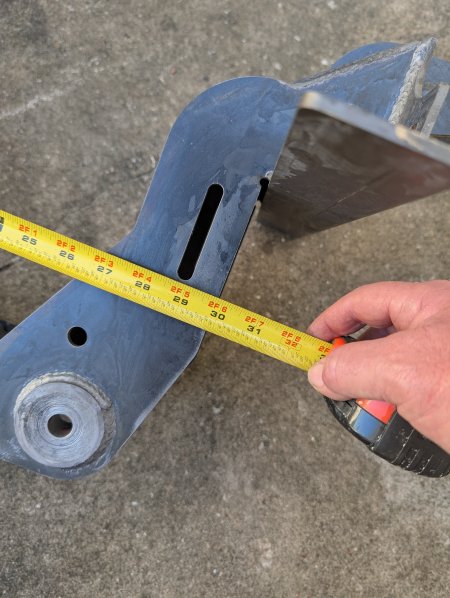
Notice the crossmember measures 29 7/8 inches – which will slightly interfere with the frame rails.
Here is a visual showing the marks on the frame rail… cut with a 4 1/2″ wheel.
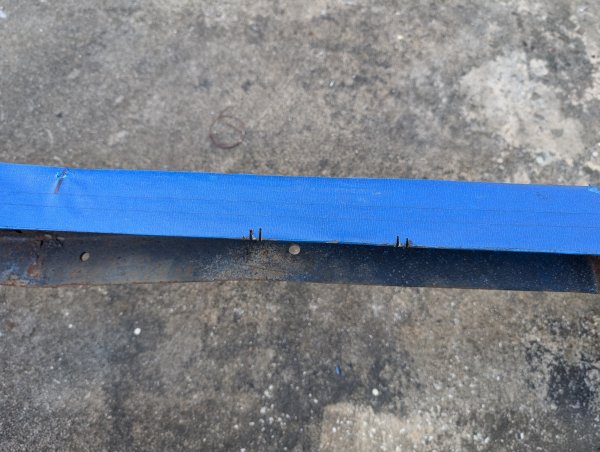
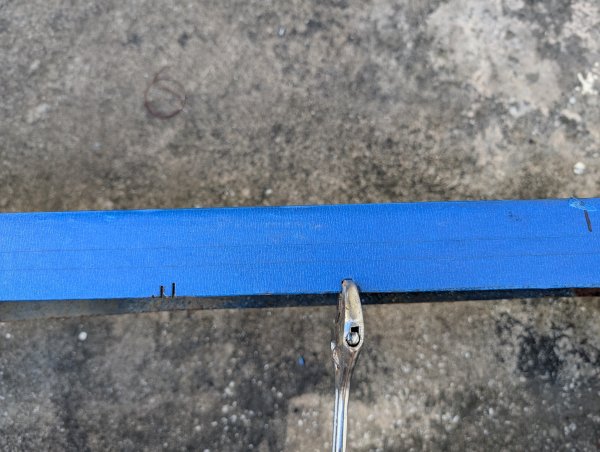
after making the cuts, use an adjustable wrench to remove the chunk
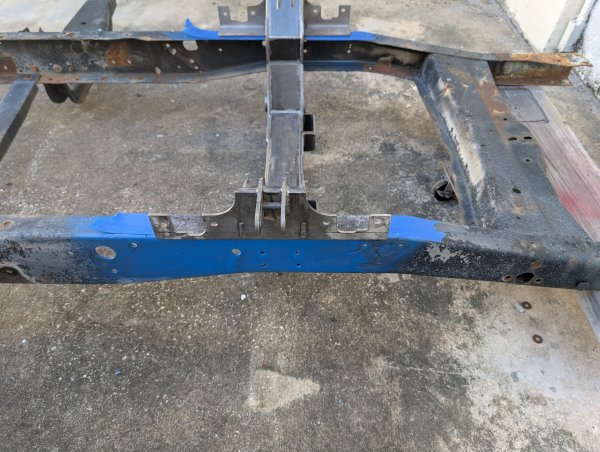
The lower frame rails need to be clearanced as well… using the same method. Once that is done, set the crossmember on top of the frame rails and verify the crossmember hits the marks you made at the beginning after using the boxing plate.
I couldn’t get a good angle to show the crossmember overhanging the outer edge of the frame rail… But it is about 0.7 inches. Be sure the crossmember is centered.
here is another pic showing the crossmember sitting on the frame rail.
… and a top view showing the overlap of the crossmember relative to the outer frame rail edge.
Similar to the original design… Tack weld the crossmember in place and test fit to be sure the wheel is centered in the fenderwell.
Happy building – you are always welcome to call (321) 960-5945